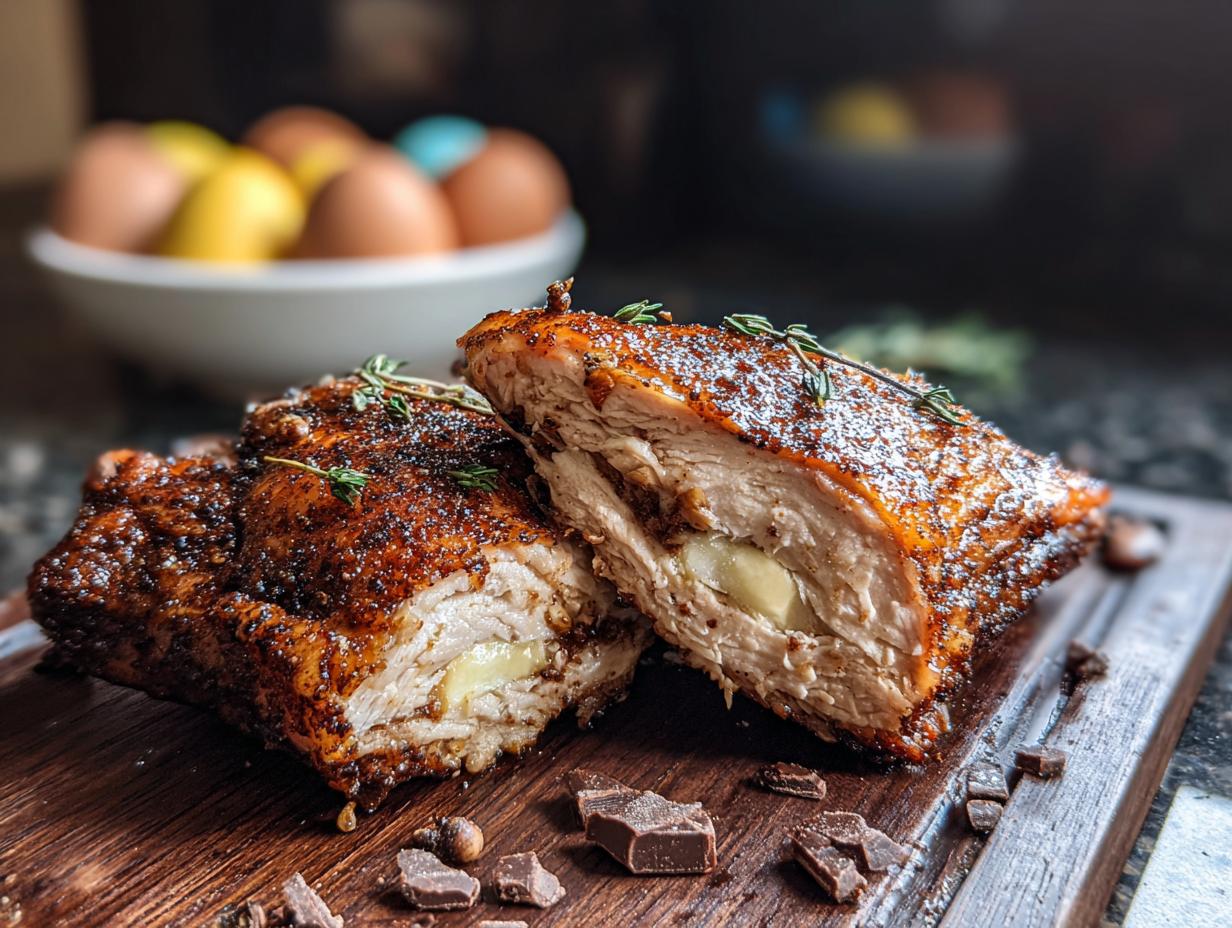
Split chicken breast has become my go-to for busy weeknights because it cooks so much faster and more evenly than a whole breast. I remember struggling with chicken that was dry on the edges and still pink in the middle – a total disaster! Learning the best way to split chicken breast changed everything. It’s such a simple technique, just cutting the breast in half horizontally, but it makes all the difference. You get wonderfully juicy chicken with a beautiful, golden-brown crust that’s perfect for grilling or roasting. Let’s get cooking!
Why You’ll Love This Split Chicken Breast
This simple preparation method for split chicken breast is a game-changer for weeknight meals. Here’s why you’ll be making it again and again:
- Faster Cooking: Cutting the chicken breast in half means it cooks through much quicker.
- Evenly Cooked Chicken Breast: Say goodbye to dry edges and undercooked centers.
- Thinner Chicken Breast Cooking: The thinner cut allows for a more delicate texture.
- Crispy Skin: This method is perfect for achieving beautifully browned, delicious skin.
- Versatile: It’s a fantastic base for so many dishes, from salads to pasta.
- Flavorful Marinades: The larger surface area absorbs marinades beautifully.
- Easy Preparation: Learning how to split chicken breast is surprisingly simple.
- Perfect for Grilling: Get that delicious char and smoky flavor you love.
Ingredients for Split Chicken Breast
Here’s what you’ll need to make this wonderfully juicy split chicken breast recipe. This simple preparation makes sure you get an evenly cooked chicken breast every time, and the thinner cut is perfect for quick cooking.
- 2 split chicken breasts (about 6-8 oz each) – skin on, boneless
- 2 tablespoons olive oil – this helps the spices adhere and promotes browning
- 1 teaspoon garlic powder – for a savory depth
- 1 teaspoon paprika – adds a lovely color and mild flavor
- 1 teaspoon dried thyme – complements the chicken beautifully
- 1 teaspoon salt – essential for bringing out all the flavors
- 1 teaspoon black pepper – for a touch of warmth
- 2 tablespoons lemon juice – adds a bright finish after cooking
How to Make Split Chicken Breast
Let me walk you through the simple steps to prepare these delicious split chicken breasts. This method ensures you get that perfectly evenly cooked chicken breast with a wonderfully crispy skin. It’s truly one of the best ways to split chicken breast for a quick and flavorful meal.
- Step 1: First things first, preheat your oven to 400°F (200°C). While the oven heats up, grab a baking sheet and line it with parchment paper. This makes cleanup a breeze and prevents any sticking.
- Step 2: Take your split chicken breasts and pat them completely dry with paper towels. Getting them nice and dry is key to achieving that beautiful, crispy skin we’re all after.
- Step 3: Now, rub each piece generously all over with the 2 tablespoons of olive oil. Make sure to get into all the nooks and crannies – this oil helps the spices stick and creates a fantastic golden-brown crust as it cooks.
- Step 4: In a small bowl, mix together the 1 teaspoon garlic powder, 1 teaspoon paprika, 1 teaspoon dried thyme, 1 teaspoon salt, and 1 teaspoon black pepper. This spice blend is simple but packs a punch of flavor.
- Step 5: Coat the chicken breasts evenly with this fragrant spice mixture. Gently press the spices onto the meat so they adhere well.
- Step 6: Place the seasoned split chicken breasts skin side up on your prepared baking sheet. This positioning is crucial for getting that skin nice and crispy.
- Step 7: Roast in the preheated oven for about 35 to 40 minutes. You’re looking for an internal temperature of 165°F (74°C) when you check with a meat thermometer.
- Step 8: About halfway through the cooking time, I like to baste the chicken with its own juices that have collected on the pan. This keeps the meat extra moist and flavorful.
- Step 9: Once the chicken reaches the correct temperature, remove it from the oven. Immediately squeeze the 2 tablespoons of fresh lemon juice over the hot chicken. You’ll hear it sizzle – that’s a good sign!
- Step 10: Let the chicken rest for about 5 minutes before you slice into it. This resting period allows the juices to redistribute, ensuring a tender and juicy bite every time. It’s a small step that makes a big difference in the final texture.

Pro Tips for the Best Split Chicken Breast
Want to elevate your split chicken breast game? I’ve picked up a few tricks over the years that guarantee fantastic results. These tips will help you achieve perfectly cooked, flavorful chicken every single time.
- Patting the chicken dry is crucial for crispy skin. Don’t skip this step!
- For an even better sear and flavor, let the seasoned chicken sit at room temperature for about 15-20 minutes before baking.
- Don’t overcrowd the baking sheet. Give each piece of chicken space for air to circulate, ensuring even cooking.
- If you’re short on time, you can use pre-cut chicken breasts, but learning how to split chicken breast yourself is easy and often more economical.
What’s the secret to perfect split chicken breast?
The secret lies in two things: ensuring the chicken is completely dry for crispy skin and not overcooking it. Using a meat thermometer to hit precisely 165°F is key for that juicy, tender bite. For more on safe internal temperatures for poultry, check out the USDA’s guidelines.
Can I make split chicken breast ahead of time?
Yes, you can absolutely prepare split chicken breasts ahead of time. You can season them up to 24 hours in advance and store them covered in the refrigerator. This allows the flavors to meld beautifully. You can find more tips on meal prep in our make-ahead meals guide.
How do I avoid common mistakes with split chicken breast?
The most common mistakes are not drying the chicken properly, leading to soggy skin, and overcooking, which results in dry meat. Always use a thermometer and let the chicken rest!
Best Ways to Serve Split Chicken Breast
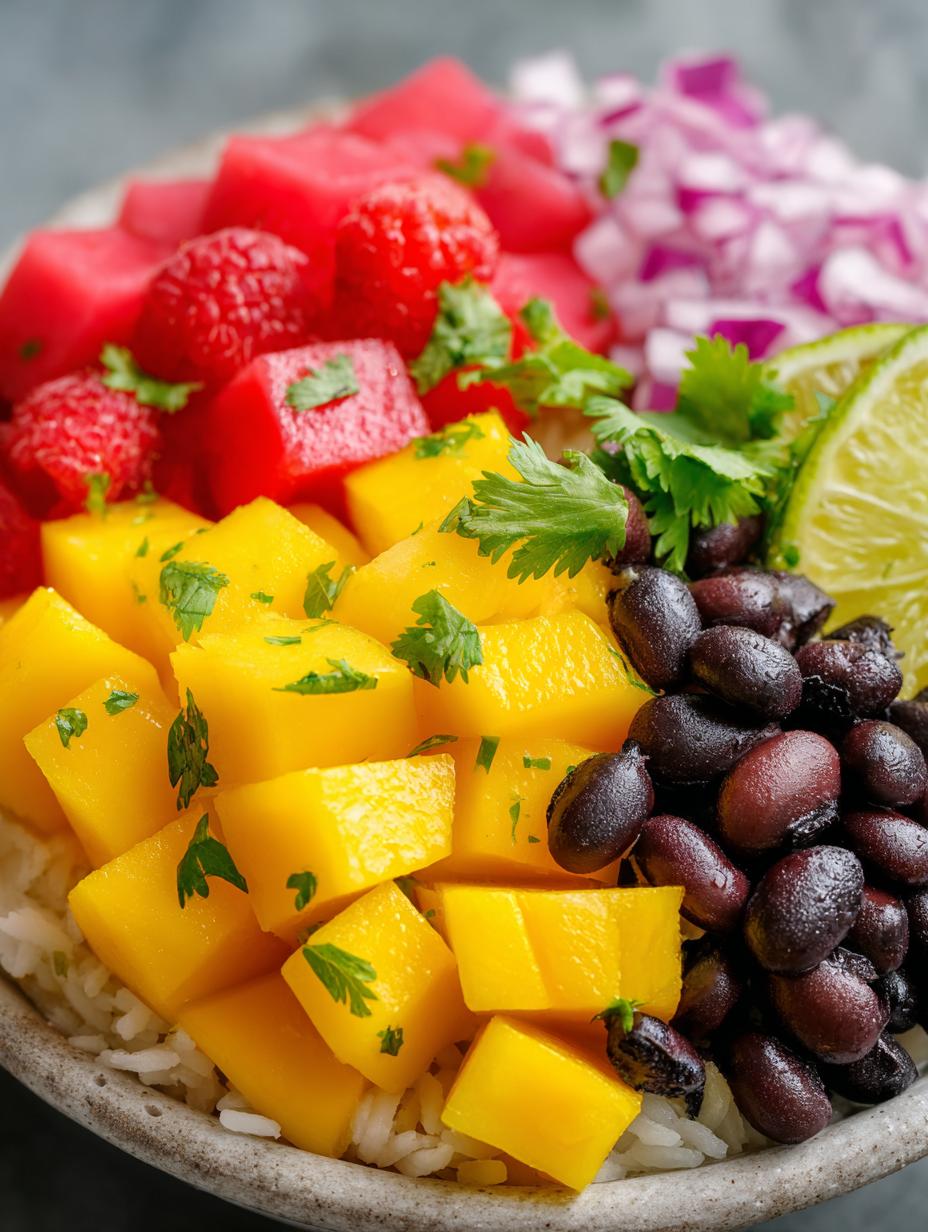
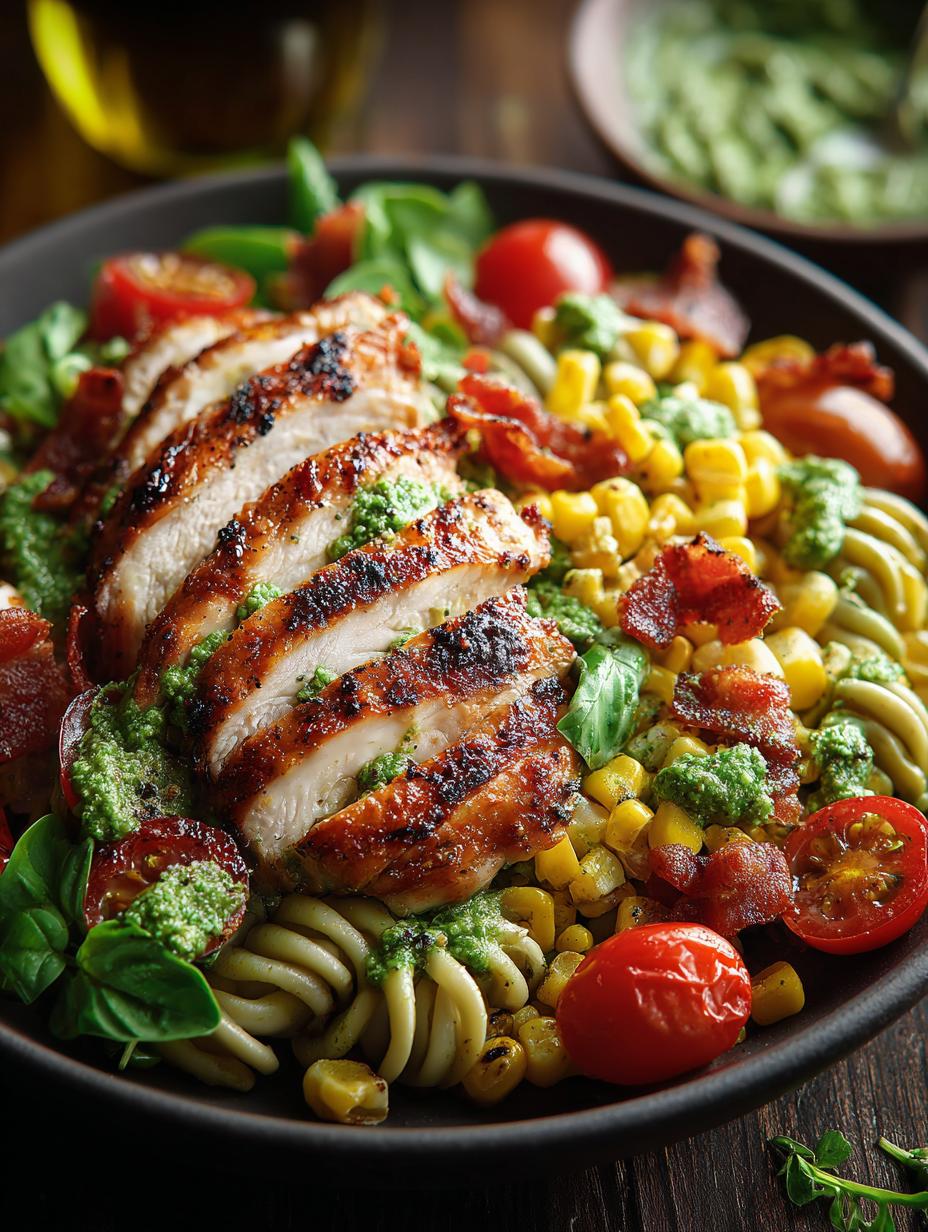
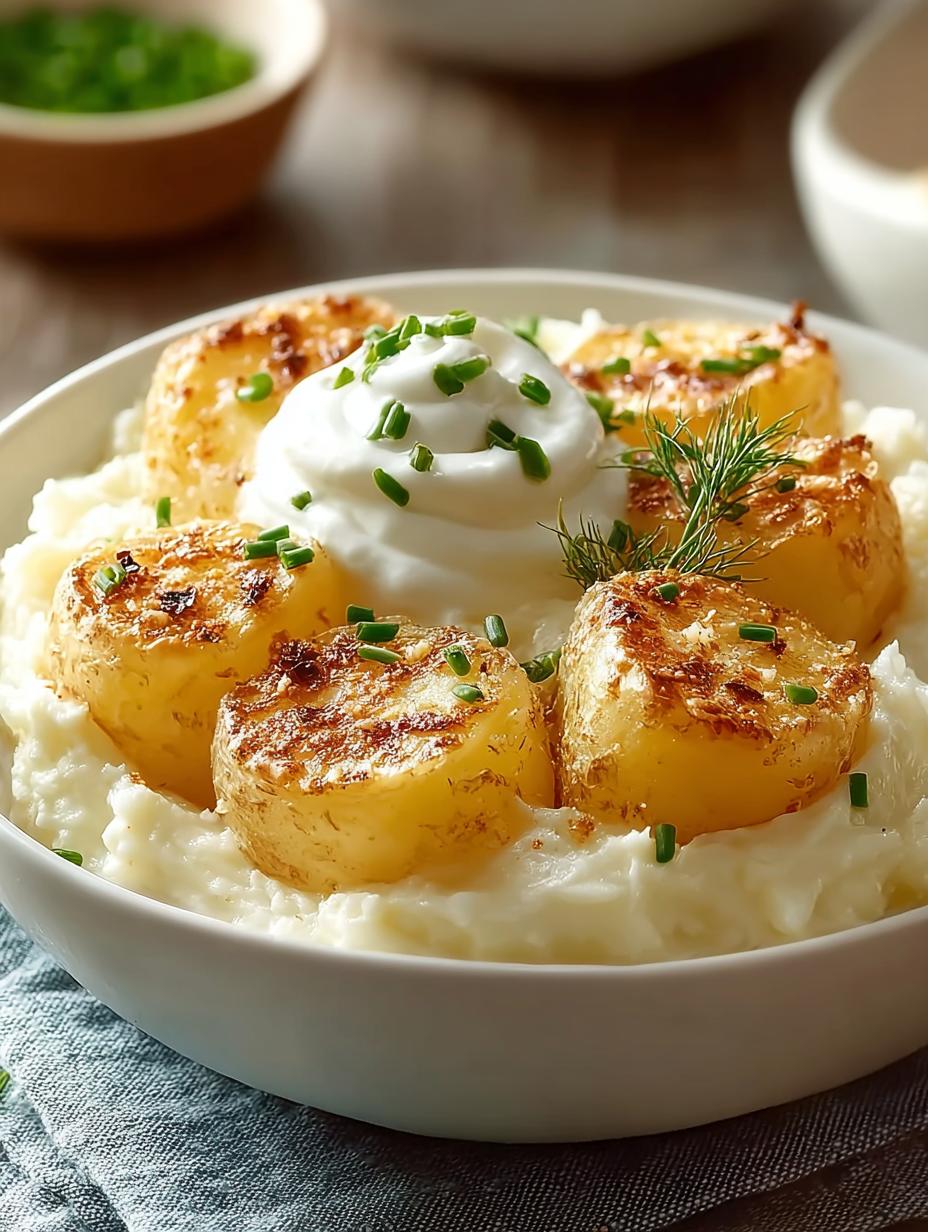
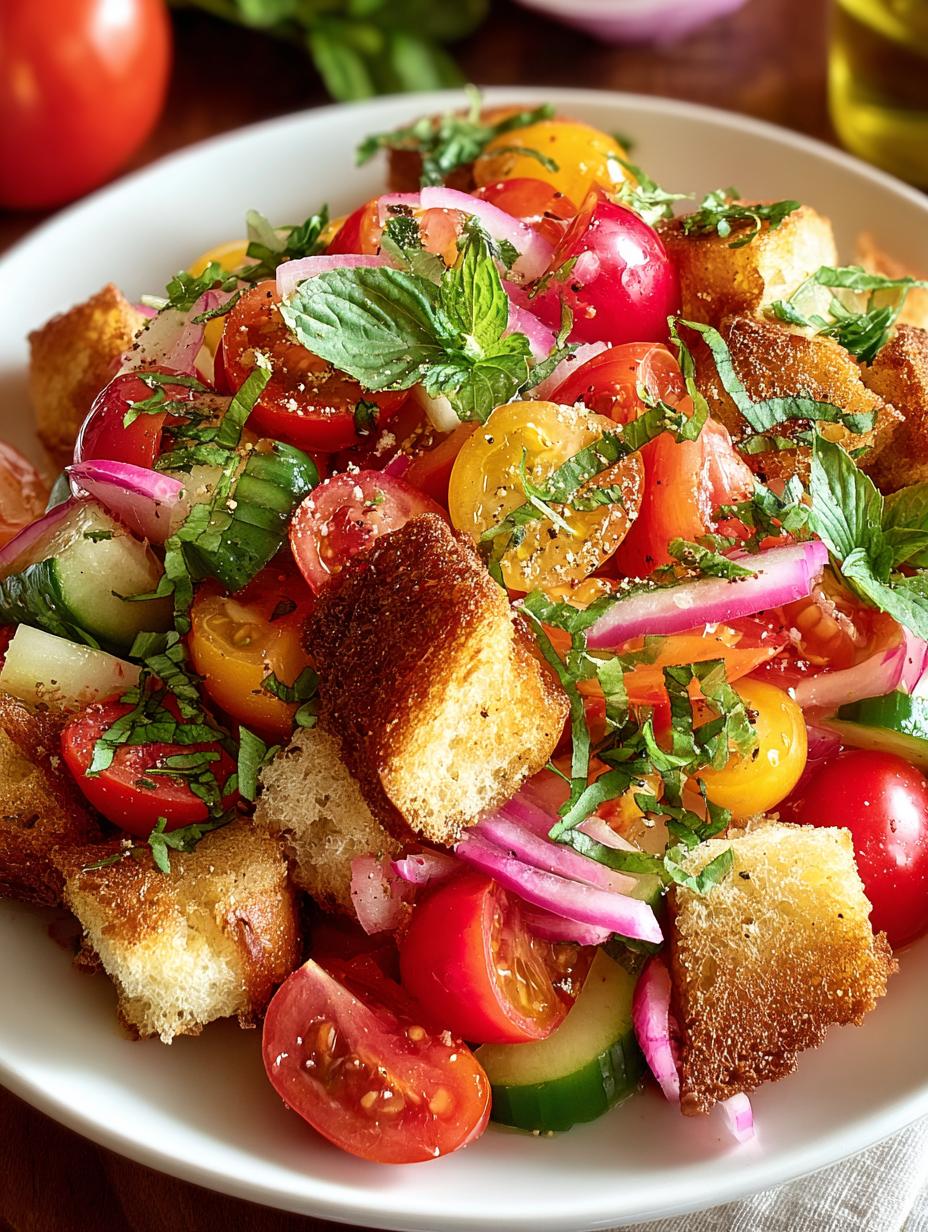
This versatile split chicken breast is fantastic on its own, but it truly shines when paired with the right sides. For a quick weeknight meal, I love serving it alongside a big, fresh salad or some roasted asparagus. The bright lemon flavor of the chicken complements these lighter options perfectly. If you’re looking for something more substantial, consider serving it with creamy mashed potatoes or a simple pasta dish; the thinner chicken breast cooking means it’s ready at the same time as most sides!

Nutrition Facts for Split Chicken Breast
When you prepare split chicken breast using this recipe, you get a wonderfully lean and flavorful meal. The thinner cut contributes to its quick cooking time and allows for a great protein-to-fat ratio. Here’s a breakdown per serving (one chicken breast):
- Calories: 390
- Fat: 22g
- Saturated Fat: 6g
- Unsaturated Fat: 16g
- Trans Fat: 0g
- Protein: 38g
- Carbohydrates: 2g
- Fiber: 1g
- Sugar: Under 2g
- Sodium: 1 tsp
Nutritional values are estimates and may vary based on specific ingredients used.
How to Store and Reheat Split Chicken Breast
Once you’ve mastered the best way to split chicken breast, you’ll want to make sure you can enjoy it later! Properly storing and reheating your split chicken breast is key to maintaining its delicious flavor and tender texture. After cooking, let the chicken cool down for about 30 minutes before storing. For fridge storage, place the cooled chicken in an airtight container or wrap it tightly in plastic wrap and then foil. It will stay fresh in the refrigerator for 3-4 days. If you need to store it for longer, freezing is a great option. Wrap individual portions securely in plastic wrap and then in aluminum foil, or use freezer bags, to prevent freezer burn. Properly stored, your split chicken breast can last in the freezer for up to 3 months.
When you’re ready to reheat, the goal is to gently warm it through without drying it out. For the best results, I recommend reheating in the oven at around 325°F (160°C) for about 10-15 minutes, or until warmed through. You can also reheat it in a skillet over medium-low heat with a splash of water or broth, covered, for a few minutes. Microwaving is the quickest option, but be sure to do it in short intervals, checking frequently to avoid overcooking. This ensures you still get an evenly cooked chicken breast even after storage.
Frequently Asked Questions About Split Chicken Breast
What’s the best way to split chicken breast for cooking?
The best way to split chicken breast involves using a sharp knife to carefully slice horizontally through the thickest part of the breast, creating two thinner cutlets. This technique ensures thinner chicken breast cooking, leading to more even results and a shorter cooking time.
Can I use split chicken breast for grilling?
Absolutely! Split chicken breast is fantastic for grilling. Because it’s thinner, it cooks quickly and absorbs marinades beautifully, making it perfect for achieving those lovely grill marks and a slightly smoky flavor. Just be sure not to overcook it! For more grilling inspiration, check out our grilled chicken strips recipe.
How do I butterfly a chicken breast?
Butterflying a chicken breast is essentially the same as splitting it. You make a horizontal cut into the thickest part of the breast, stopping just before you cut all the way through. Then, you open it up like a book. This butterfly chicken breast technique is excellent for preparing chicken for stuffing or for a quicker cook.
What are the benefits of cutting chicken breast in half?
Cutting chicken breast in half provides several benefits. Primarily, it leads to more evenly cooked chicken breast, reducing the risk of dry or undercooked spots. It also significantly cuts down on cooking time, making it ideal for busy weeknights. The thinner cut also allows for better absorption of marinades and seasonings.
Variations of Split Chicken Breast You Can Try
Once you’ve mastered the basic preparation, there are so many fun ways to switch up your split chicken breast! These variations are perfect for keeping your meals exciting and catering to different tastes or dietary needs. Experimenting with these ideas is a great way to discover new favorites.
- Lemon Herb: For a bright, fresh flavor, add finely chopped fresh rosemary or parsley to the spice blend before cooking. The lemon juice finish complements these herbs beautifully, making it a perfect pairing for a light salad.
- Smoked Paprika Kick: Substitute regular paprika with smoked paprika for a deeper, slightly smoky flavor profile. This variation works wonderfully if you’re looking for a little something extra and pairs well with roasted root vegetables.
- Spicy Cayenne: Add a pinch of cayenne pepper to your spice mix for a gentle heat that awakens the palate. This is a great way to prepare chicken breast for dishes that need a little warmth without being overpowering.
- Pan-Seared: Instead of roasting, try pan-searing your split chicken breast. Sear skin-side down in a hot skillet until crispy, then flip and cook until done. This method offers a different texture and can be quicker for some recipes.

Split Chicken Breast: 2 Secrets to Juicy Perfection
- Total Time: 50 minutes
- Yield: 2 servings
- Diet: Low Carb
Description
Learn how to prepare juicy and flavorful split chicken breasts with this easy recipe. Perfect for weeknight dinners, this method ensures evenly cooked and tender chicken with crispy skin.
Ingredients
- Split chicken breasts: 2 pieces
- Olive oil: 2 tbsp
- Garlic powder: 1 tsp
- Paprika: 1 tsp
- Dried thyme: 1 tsp
- Salt: 1 tsp
- Black pepper: 1 tsp
- Lemon juice: 2 tbsp
Instructions
- Preheat oven to 400°F.
- Pat the chicken breasts dry with paper towels.
- Rub each piece generously with olive oil.
- Mix garlic powder, paprika, thyme, salt, and black pepper.
- Coat the chicken evenly with the spice blend.
- Place chicken breasts skin side up on a baking sheet lined with parchment paper.
- Roast for 35 to 40 minutes, or until internal temperature reaches 165°F.
- Baste the chicken with its own juices halfway through cooking.
- Remove from oven and squeeze fresh lemon juice over the top.
- Let the chicken rest for 5 minutes before slicing and serving.
Notes
- For richer flavor, substitute olive oil with melted butter.
- Add a touch of honey for subtle sweetness.
- Use smoked paprika for a smoky variation.
- Add fresh rosemary or parsley at the end for brightness.
- A pinch of cayenne pepper adds heat.
- Roast vegetables like carrots, potatoes, or green beans alongside the chicken for a one-pan meal.
- Prep Time: 10 minutes
- Cook Time: 40 minutes
- Category: Main Course
- Method: Roasting
- Cuisine: American
Nutrition
- Serving Size: 1 serving (1 chicken breast)
- Calories: 390
- Sugar: Under 2g
- Sodium: 1 tsp
- Fat: 22g
- Saturated Fat: 6g
- Unsaturated Fat: 16g
- Trans Fat: 0g
- Carbohydrates: 2g
- Fiber: 1g
- Protein: 38g
- Cholesterol: 130mg
Keywords: split chicken breast, how to split chicken breast, butterfly chicken breast, cutting chicken breast in half, evenly cooked chicken breast, thinner chicken breast cooking, split chicken breast recipe