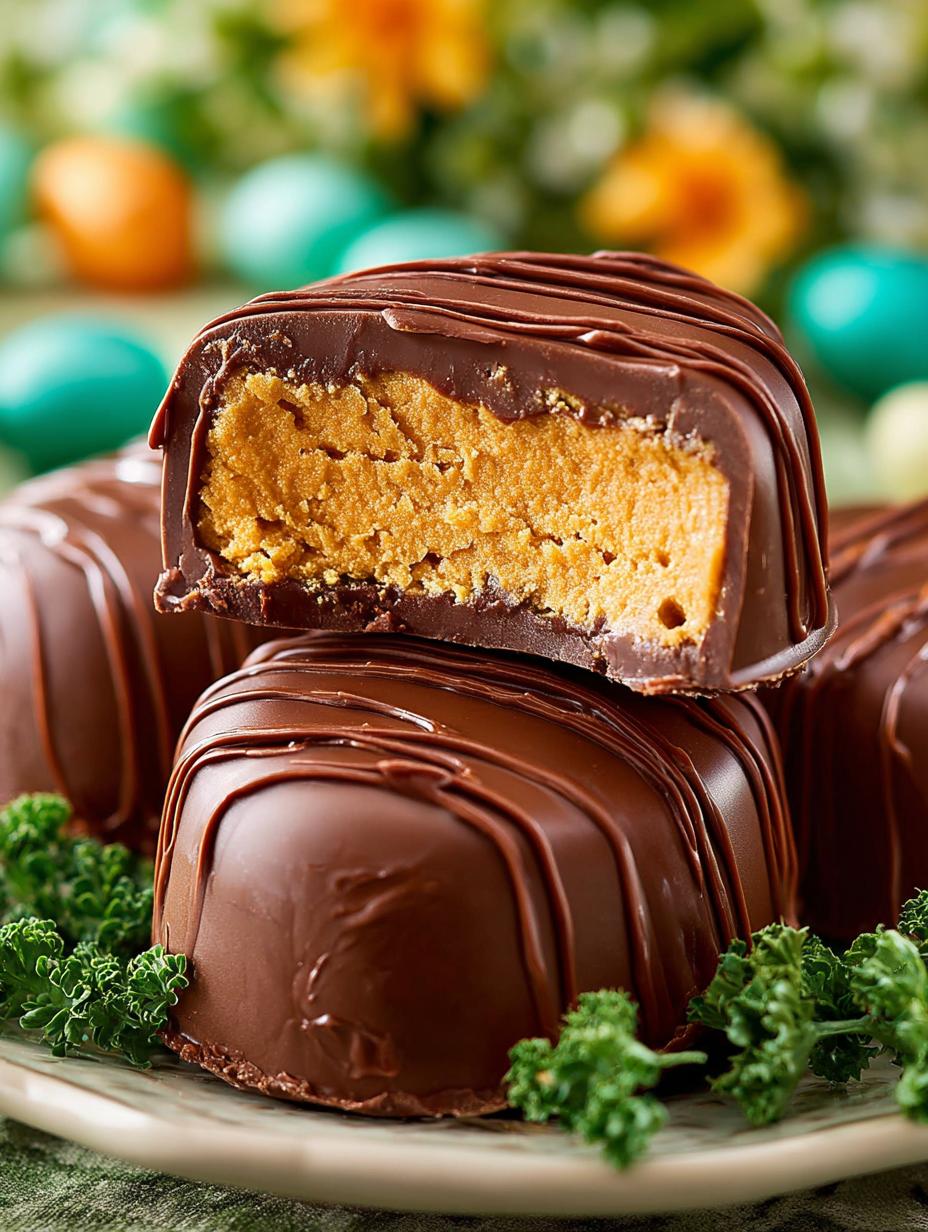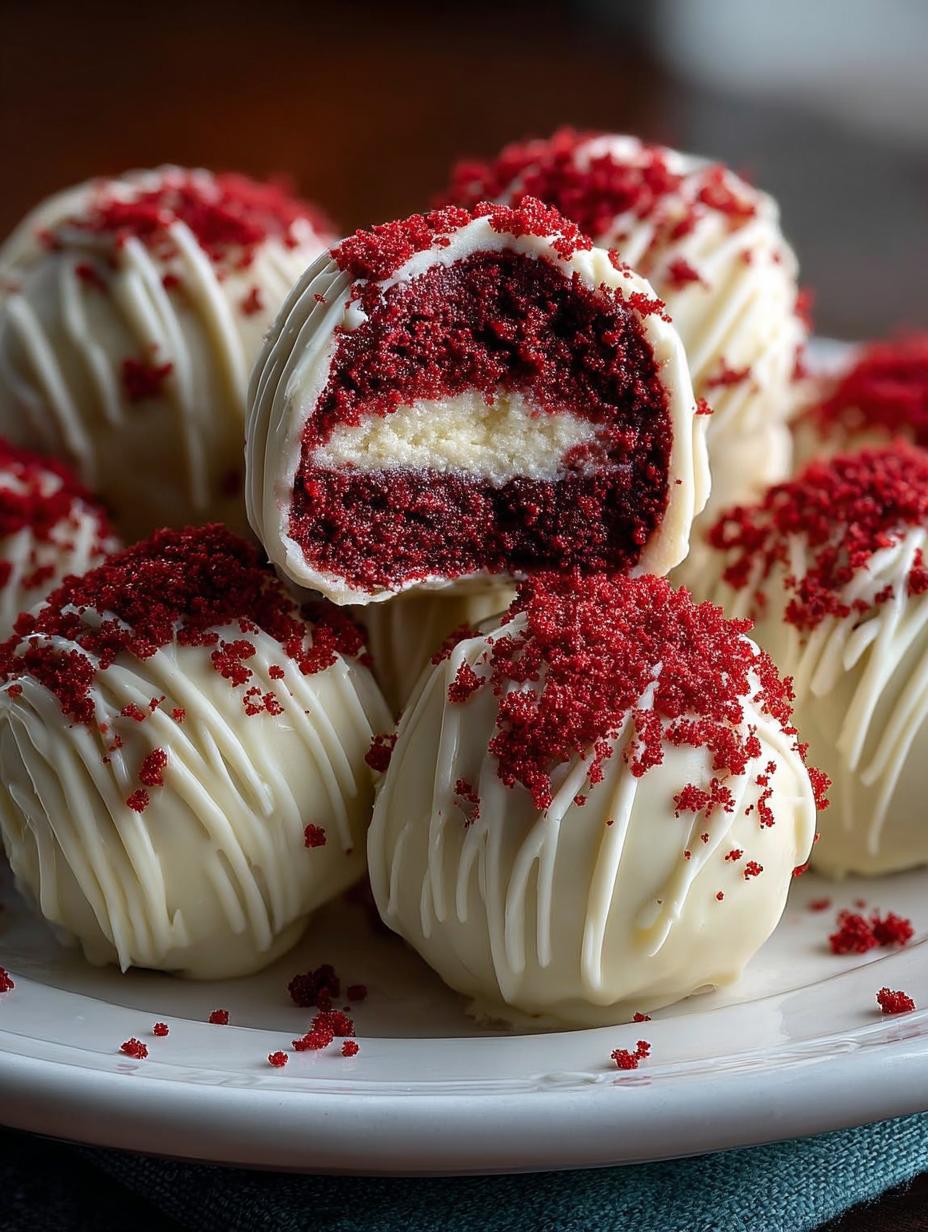
Red Velvet Cake Balls are the ultimate festive treat that combines rich flavors and a delightful texture. These no-bake dessert balls are perfect for holiday celebrations or simply satisfying your sweet tooth. Coated in velvety white chocolate and often decorated with festive sprinkles, they are not just a visual delight but also a taste sensation. The balance of the red velvet cake mix and the creamy frosting creates a smooth, indulgent bite that melts in your mouth. Let’s dive into how to create these scrumptious treats.
Why You’ll Love This Red Velvet Cake Balls
These Red Velvet Cake Balls are a crowd-pleaser that everyone can enjoy. First, they are incredibly easy to make, especially with a simple Easy Red Velvet Cake Ball recipe you can whip up in no time. Second, they are versatile; you can customize them with various toppings or flavors, making them perfect for any occasion. Whether you’re hosting a party or looking for a fun treat, these cake balls are ideal. Plus, they are a fantastic choice for gluten-free diets by using the right cake mix. Lastly, they combine the classic flavors of red velvet with a modern twist, making them a hit at gatherings.
Ingredients for Red Velvet Cake Balls
Gather these items:
- 1 box (15.25 oz) Red Velvet Cake Mix (prepared according to package directions, baked, and cooled)
- 1 container (16 oz) Cream Cheese Frosting
- 12 oz White Chocolate Melting Wafers or Chips
- Optional: Red sprinkles for decoration
How to Make Red Velvet Cake Balls Step-by-Step
- Step 1: Crumble the cooled red velvet cake completely into small crumbs in a large mixing bowl.
- Step 2: Add the entire container of cream cheese frosting to the cake crumbs.
- Step 3: Mix the cake and frosting together until fully combined and a dough forms.
- Step 4: Roll the mixture into small, uniform balls, about 1 inch in diameter. Place them on a parchment-lined baking sheet.
- Step 5: Chill the cake balls in the refrigerator for at least 30 minutes until firm.
- Step 6: Melt the white chocolate wafers according to package directions (usually in a microwave-safe bowl in short intervals, stirring between each).
- Step 7: Dip each chilled cake ball into the melted white chocolate, allowing excess chocolate to drip off.
- Step 8: Place the coated balls back onto the parchment-lined sheet.
- Step 9: Immediately add sprinkles, if desired, before the chocolate sets.
- Step 10: Let the chocolate harden completely at room temperature or briefly in the refrigerator.
Pro Tips for the Perfect Red Velvet Cake Balls
Keep these in mind:
- Ensure the red velvet cake is completely cooled before crumbling to avoid a soggy mixture.
- Use high-quality white chocolate for a smoother coating.
- If you want to make Gluten-free Red Velvet Cake Balls, opt for gluten-free cake mix.
- Refrigerating the cake balls before dipping helps them hold their shape.
- For a unique twist, try adding a dash of vanilla or almond extract to the frosting for added flavor.
Best Ways to Serve Red Velvet Cake Balls
These Red Velvet Cake Balls are perfect for various occasions. Serve them as a festive dessert at holiday parties, or package them as sweet gifts for friends and family. They also make excellent additions to dessert tables or as party favors. Consider presenting them on decorative platters or in clear bags tied with ribbons for an attractive display.

How to Store and Reheat Red Velvet Cake Balls
To keep your Red Velvet Cake Balls fresh, store them in an airtight container in the refrigerator for up to a week. If you want to make them ahead of time, they can be frozen for up to three months. Just ensure they are well-wrapped to avoid freezer burn. Thaw them in the refrigerator before serving for optimal texture.
Frequently Asked Questions About Red Velvet Cake Balls
What’s the secret to perfect Red Velvet Cake Balls?
The secret lies in using high-quality ingredients and ensuring the cake is fully cooled before mixing with frosting. This ensures the right texture and flavor.
Can I make Red Velvet Cake Balls ahead of time?
Absolutely! You can prepare them a few days in advance. Just store them in the refrigerator or freezer until you’re ready to serve.
How do I avoid common mistakes with Red Velvet Cake Balls?
To avoid mistakes, ensure you follow the recipe closely, especially the chilling times, which help maintain their shape during coating.
Variations of Red Velvet Cake Balls You Can Try
There are many fun variations you can explore with your Red Velvet Cake Balls. For instance, consider making Red Velvet Cake Pops by inserting sticks into the balls before coating them. You could also create Red Velvet Cake Bonbons by filling them with a chocolate ganache center. Another great option is to experiment with different coatings, such as dark chocolate or a sprinkle of sea salt for an added flavor contrast. These variations make them perfect for special occasions or themed events.


Red Velvet Cake Balls: 5 Secrets for a Festive Delight
- Total Time: 30 minutes
- Yield: 24 cake balls 1x
- Diet: Vegetarian
Description
Make these simple, no-bake Red Velvet Cake Balls for a delicious, festive treat. They combine rich red velvet cake with creamy frosting, coated in smooth white chocolate.
Ingredients
- 1 box (15.25 oz) Red Velvet Cake Mix (prepared according to package directions, baked, and cooled)
- 1 container (16 oz) Cream Cheese Frosting
- 12 oz White Chocolate Melting Wafers or Chips
- Optional: Red sprinkles for decoration
Instructions
- Crumble the cooled red velvet cake completely into small crumbs in a large mixing bowl.
- Add the entire container of cream cheese frosting to the cake crumbs.
- Mix the cake and frosting together until fully combined and a dough forms.
- Roll the mixture into small, uniform balls, about 1 inch in diameter. Place them on a parchment-lined baking sheet.
- Chill the cake balls in the refrigerator for at least 30 minutes until firm.
- Melt the white chocolate wafers according to package directions (usually in a microwave-safe bowl in short intervals, stirring between each).
- Dip each chilled cake ball into the melted white chocolate, allowing excess chocolate to drip off.
- Place the coated balls back onto the parchment-lined sheet.
- Immediately add sprinkles, if desired, before the chocolate sets.
- Let the chocolate harden completely at room temperature or briefly in the refrigerator.
Notes
- Prep Time: 30 minutes
- Cook Time: 0 minutes
- Category: Dessert
- Method: No-bake
- Cuisine: American
Nutrition
- Serving Size: 1 cake ball
- Calories: 150
- Sugar: 12g
- Sodium: 50mg
- Fat: 8g
- Saturated Fat: 4g
- Unsaturated Fat: 3g
- Trans Fat: 0g
- Carbohydrates: 18g
- Fiber: 0g
- Protein: 2g
- Cholesterol: 15mg
Keywords: Red Velvet Cake Balls