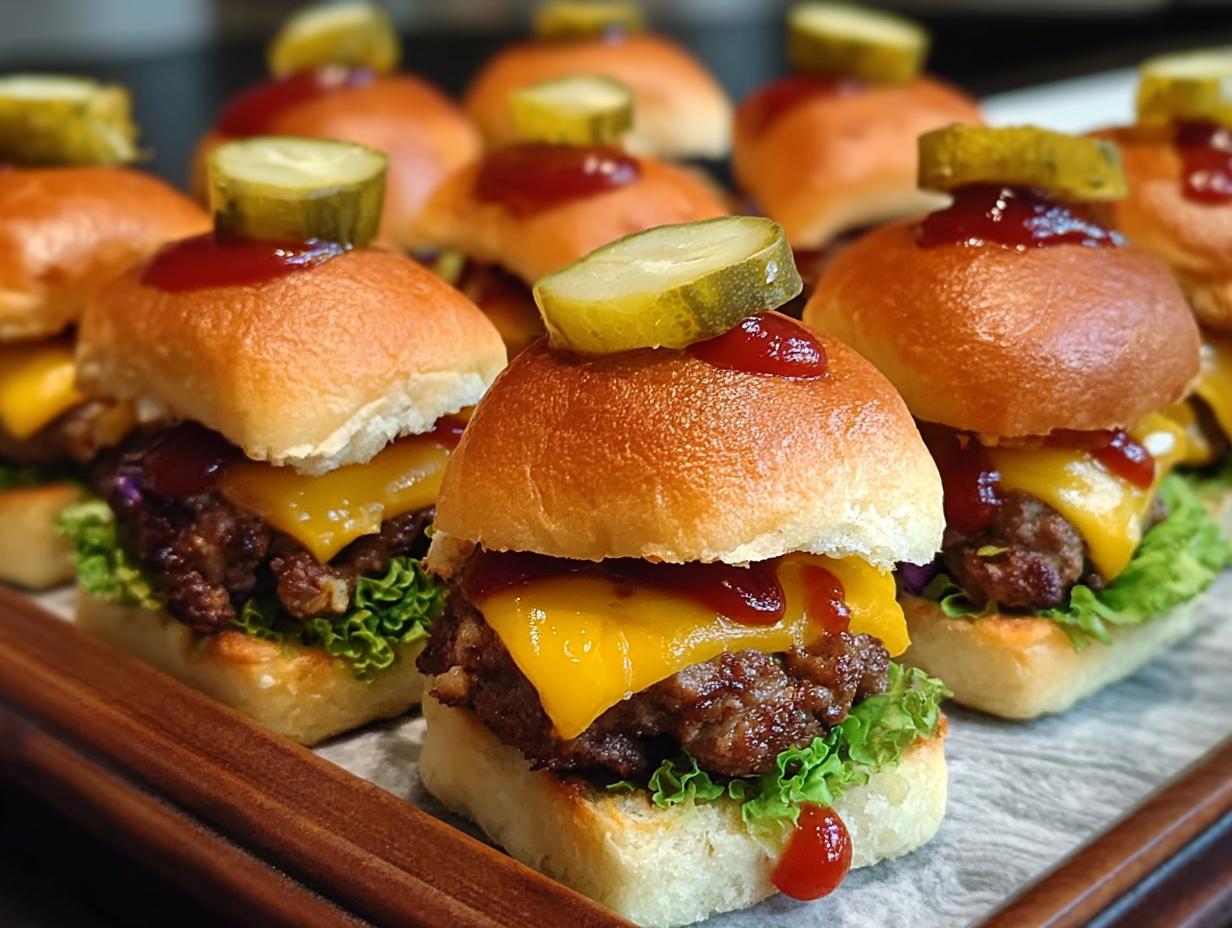
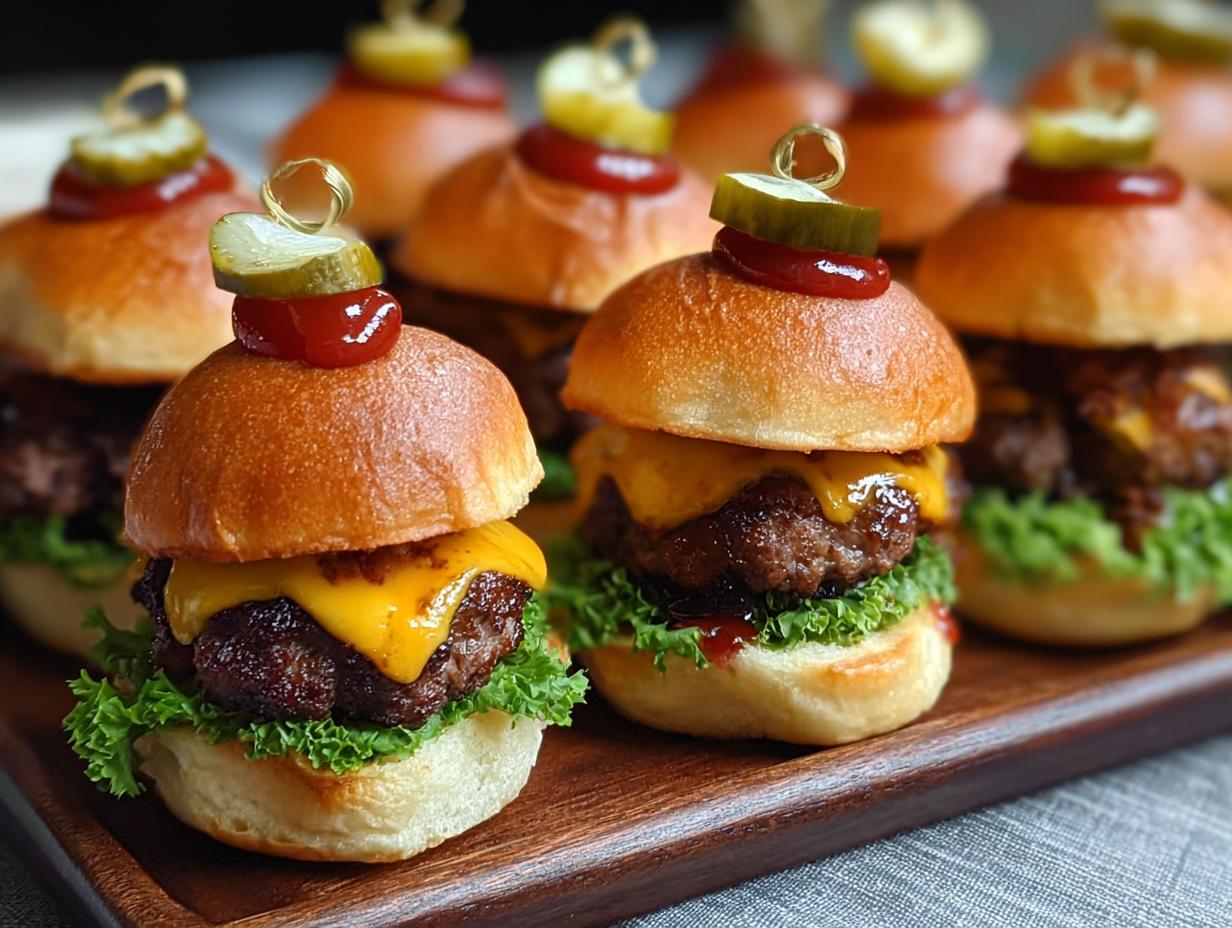
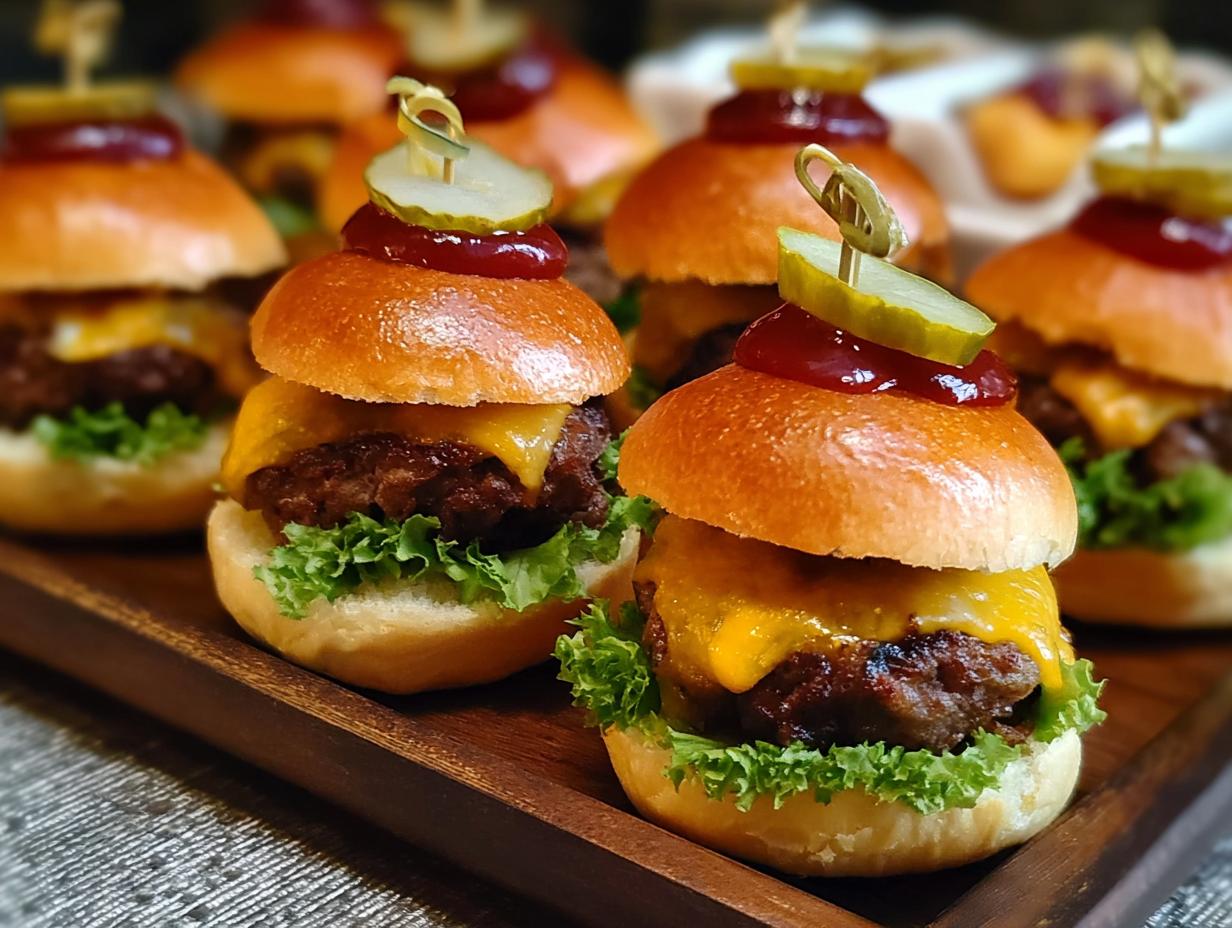
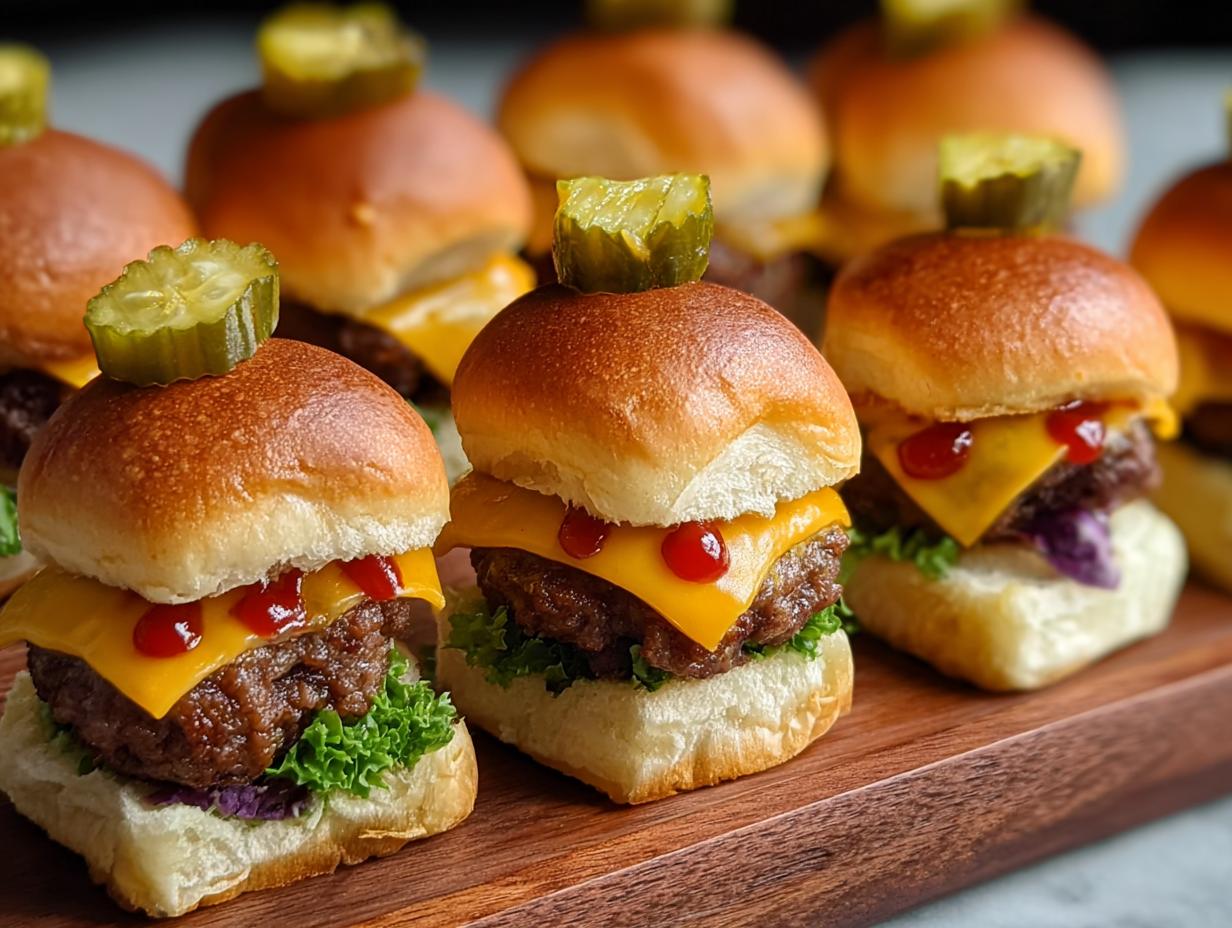
Mini cheeseburger sliders have become my go-to for any gathering, and I’ve discovered they’re surprisingly simple to whip up! I remember the first time I made these for a summer barbecue, and they vanished faster than any other dish. The aroma of sizzling beef and melted cheddar filling my kitchen had everyone peeking into the oven, eager for a taste. These aren’t just small burgers; they’re perfectly seasoned, juicy, and incredibly satisfying little bites that make every bite a delight. If you’re looking for the best sliders for parties, you’ve found them! Let’s get cooking!
Why You’ll Love These Mini Cheeseburger Sliders
These aren’t just any sliders; they’re a guaranteed crowd-pleaser! Here’s why you’ll adore making and serving these mini cheeseburger sliders:
- Perfectly Portioned: Their bite-sized nature makes them ideal for parties and appetizers.
- Incredibly Easy: This is a simple mini cheeseburger recipe that anyone can master.
- Flavor Explosion: Juicy beef, melted cheddar, and soft buns create a savory delight.
- Kid-Approved: Little hands (and big ones!) love these kid-friendly cheeseburger sliders.
- Versatile Toppings: Customize them with your favorite classic or creative slider burger ideas.
- Quick Assembly: You can whip up a batch of these homemade cheeseburger sliders in no time at all.
- Party Ready: They are the best sliders for parties, offering a delightful and easy-to-eat option.
Ingredients for Homemade Cheeseburger Sliders
Whipping up these delicious homemade cheeseburger sliders is simpler than you think! You’ll need just a few key ingredients to create these savory mini beef sliders with cheese. The foundation is, of course, 1 pound ground beef; I find a 90/10 lean-to-fat ratio gives the best flavor and juiciness for these miniature cheeseburger slider instructions. For seasoning, 1/2 teaspoon salt and 1/4 teaspoon black pepper are essential to bring out the beef’s natural taste. I also love adding 1/4 cup finely chopped onion for a subtle savory depth that complements the meat beautifully. A little splash of 1 tablespoon Worcestershire sauce adds a fantastic umami kick that truly elevates these small cheeseburger sliders. Finally, you’ll need 12 slider buns – look for soft, slightly sweet ones that hold up well, and of course, 12 slices cheddar cheese for that classic gooey melt.
How to Make Mini Cheeseburger Sliders
Ready to create the best appetizer cheeseburger sliders? Follow these easy steps for perfect miniature cheeseburger slider instructions that your guests will rave about!
- Step 1: Preheat your oven to 375°F (190°C). This is crucial for getting that perfect cook on our mini beef sliders with cheese. Line a baking sheet with parchment paper for easy cleanup – a little trick I learned early on!
- Step 2: In a medium bowl, gently combine the 1 pound ground beef, 1/2 teaspoon salt, 1/4 teaspoon black pepper, 1/4 cup finely chopped onion, and 1 tablespoon Worcestershire sauce. My trick here is to mix just until everything is incorporated; overmixing can make your sliders tough, and we want them tender!
- Step 3: Divide the meat mixture into 12 equal portions. Gently shape each portion into a small patty. Make them just slightly larger than your slider buns, as they will shrink a bit as they cook. You should have beautiful, uniform patties ready for the oven.
- Step 4: Arrange the formed patties on the prepared baking sheet. Give them a little space so they cook evenly.
- Step 5: Bake for 10-12 minutes, or until the patties are cooked through and have a lovely golden-brown color. You’ll start to smell that amazing savory mini cheeseburger bite filling your kitchen!
- Step 6: During the last 2 minutes of baking, it’s time for the magic! Place a slice of cheddar cheese on top of each patty. Watch it melt into gooey perfection – this is what makes them truly special.
- Step 7: While the cheese melts, carefully slice your 12 slider buns in half horizontally. A serrated knife works best for this.
- Step 8: Arrange the bottom halves of the slider buns on a serving platter. This is where our masterpiece starts to come together!
- Step 9: Carefully place a cheesy burger patty, fresh from the oven, onto each bottom bun.
- Step 10: Now for the fun part – add your favorite optional toppings! Ketchup, mustard, pickles, a crisp lettuce leaf, or a slice of ripe tomato all work wonderfully. Get creative with your cheeseburger slider ideas!
- Step 11: Crown each slider with the top half of the bun.
- Step 12: Serve these delightful mini cheeseburger sliders immediately while they’re warm and the cheese is perfectly melted. Enjoy every bite!
Step-by-Step Miniature Cheeseburger Slider Instructions
These instructions will guide you through creating perfect miniature cheeseburger slider instructions, ensuring a delicious outcome every time.
Pro Tips for the Best Mini Beef Sliders with Cheese
Want to elevate your slider game? I’ve picked up a few tricks that make these miniature cheeseburger slider instructions foolproof and guarantee the best results every time. These simple tips will ensure your sliders are a hit!
- For extra flavor, consider adding a dash of garlic powder or a pinch of smoked paprika to the beef mixture.
- If you prefer a crispier edge, pan-frying the patties in a cast-iron skillet before adding the cheese is a fantastic alternative to baking.
- Gently warming the slider buns before assembly adds a lovely softness and makes them even more irresistible.
- These mini cheeseburger sliders are truly best enjoyed fresh off the griddle or out of the oven, when the cheese is perfectly gooey.
What’s the secret to perfect Mini Cheeseburger Sliders?
The real secret to amazing mini cheeseburger sliders is not overmixing the beef! Gentle handling ensures tender patties. Also, using good quality cheese that melts beautifully is key for that irresistible gooeyness.
Can I make Mini Cheeseburger Sliders ahead of time?
You can prepare the patties and store them, covered, in the refrigerator for up to 24 hours before cooking. Assemble the sliders just before serving to prevent the buns from getting soggy. For the best experience, cook them fresh!
How do I avoid common mistakes with Mini Cheeseburger Sliders?
A common pitfall is overmixing the meat, leading to tough sliders. Another is making patties too small; they shrink when cooked, so make them slightly larger than the bun. Finally, don’t skip the cheese melt – it’s essential!
Best Ways to Serve Appetizer Cheeseburger Sliders
These appetizer cheeseburger sliders are incredibly versatile, making them perfect for any occasion. For a classic setup, arrange them on a platter with small bowls of ketchup, mustard, and relish, letting guests customize their own delicious bites. Another fantastic idea is to serve them alongside a fresh, crisp coleslaw or a simple green salad for a more complete meal. You can also present these mini beef sliders with cheese as part of a larger appetizer spread, perhaps with some loaded potato skins or a veggie platter. They’re truly the best sliders for parties because they’re easy to handle and always a hit!
Nutrition Facts for Mini Cheeseburger Sliders
Enjoying these delightful mini cheeseburger sliders is easy, and knowing their nutritional breakdown can help you fit them into your day. This information is based on one slider, representing a typical serving from our recipe.
- Calories: 250
- Fat: 15g
- Saturated Fat: 6g
- Unsaturated Fat: 9g
- Trans Fat: 0.5g
- Carbohydrates: 15g
- Fiber: 1g
- Sugar: 4g
- Protein: 12g
- Cholesterol: 40mg
- Sodium: 450mg
Nutritional values are estimates and may vary based on specific ingredients used, especially the type of buns and cheese chosen for your homemade cheeseburger sliders.
How to Store and Reheat Mini Cheeseburger Sliders
Even though these mini cheeseburger sliders are best served fresh, you might have leftovers, or you might want to prep them ahead. Let them cool completely before storing. For the fridge, place them in an airtight container, and they should stay delicious for about 3-4 days. If you’re planning for a future craving, these savory mini cheeseburger bites freeze beautifully! Wrap each slider individually in plastic wrap, then place them in a freezer-safe bag or container for up to 3 months. When you’re ready to enjoy them again, reheating is simple. For fridge-stored sliders, warm them gently in the oven at 300°F (150°C) for about 5-7 minutes, or until heated through. Frozen sliders can be reheated the same way, though they might need an extra couple of minutes.
Frequently Asked Questions About Mini Cheeseburger Recipes
Got questions about making the best mini cheeseburger recipes? I’ve got you covered! Here are some common queries I get about these delightful little burgers.
What makes these mini cheeseburger sliders so popular for parties?
Their popularity stems from their perfect portion size and incredible ease of eating. They’re bite-sized, meaning guests can sample several without feeling too full, and they’re easy to hold while mingling. Plus, who doesn’t love a classic cheeseburger in miniature form? They’re the ultimate party cheeseburger sliders!
Can I use different types of cheese for these mini beef sliders with cheese?
Absolutely! While cheddar is a classic, feel free to experiment. American cheese melts beautifully and gives that nostalgic diner taste. Provolone offers a slightly sharper flavor, and Monterey Jack provides a creamy, mild taste. You can even mix cheeses for a more complex flavor profile in your homemade cheeseburger sliders.
What’s the best way to prepare the beef mixture for these small cheeseburger sliders?
The key is gentle handling! For tender and juicy patties, mix the ground beef with your seasonings and any additions (like onion or Worcestershire sauce) just until everything is combined. Overmixing can result in tough, dense sliders. Think of it as lightly tossing a salad – you want everything incorporated without bruising it.
Are these kid-friendly cheeseburger sliders easy for kids to help make?
Yes, these are fantastic for involving kids in the kitchen! They can help measure ingredients, mix the beef gently (with supervision), and shape the patties. They’ll love being part of making these simple mini cheeseburger sliders and will be even more excited to eat them!
Variations of Mini Cheeseburger Sliders You Can Try
While the classic recipe for mini cheeseburger sliders is amazing, don’t be afraid to get creative! These small cheeseburger sliders are fantastic canvases for flavor. For a different twist, try a turkey mini beef slider with cheese by substituting ground turkey for beef; it’s a lighter option that’s still packed with flavor. If you love a spicy kick, add some diced jalapeños or a dash of hot sauce to the beef mixture for some savory mini cheeseburger bites with a bit of heat. You can also experiment with different cheeses, like pepper jack for extra spice or Swiss for a nutty undertone. These variations ensure there’s a perfect mini cheeseburger recipe for everyone!

Mini Cheeseburger Sliders: 12 Awesome Party Bites
- Total Time: 30 minutes
- Yield: 12 sliders 1x
- Diet: None
Description
Mini cheeseburger sliders are bite-sized delights perfect for parties. These small cheeseburger sliders offer a juicy blend of tender beef and melted cheese on soft buns, making them an irresistible appetizer.
Ingredients
- 1 pound ground beef
- 1/2 teaspoon salt
- 1/4 teaspoon black pepper
- 1/4 cup finely chopped onion
- 1 tablespoon Worcestershire sauce
- 12 slider buns
- 12 slices cheddar cheese
- Optional toppings: ketchup, mustard, pickles, lettuce, tomato
Instructions
- Preheat your oven to 375°F (190°C).
- In a bowl, gently mix the ground beef, salt, pepper, chopped onion, and Worcestershire sauce. Do not overmix.
- Divide the meat mixture into 12 equal portions. Shape each portion into a small patty, slightly larger than the slider buns.
- Place the patties on a baking sheet lined with parchment paper.
- Bake for 10-12 minutes, or until cooked through.
- During the last 2 minutes of baking, place a slice of cheddar cheese on top of each patty to melt.
- While the patties are baking, slice the slider buns in half horizontally.
- Arrange the bottom halves of the buns on a serving platter.
- Place a cheesy burger patty on each bottom bun.
- Add your favorite optional toppings like ketchup, mustard, pickles, lettuce, or tomato.
- Top with the other half of the slider bun.
- Serve these mini cheeseburger sliders immediately.
Notes
- For extra flavor, you can add a dash of garlic powder to the beef mixture.
- If you prefer, you can pan-fry the patties instead of baking them.
- Warm the slider buns slightly before assembling for a softer texture.
- These mini cheeseburger sliders are best served fresh.
- Prep Time: 15 minutes
- Cook Time: 15 minutes
- Category: Appetizer
- Method: Baking
- Cuisine: American
Nutrition
- Serving Size: 1 slider
- Calories: 250
- Sugar: 4g
- Sodium: 450mg
- Fat: 15g
- Saturated Fat: 6g
- Unsaturated Fat: 9g
- Trans Fat: 0.5g
- Carbohydrates: 15g
- Fiber: 1g
- Protein: 12g
- Cholesterol: 40mg
Keywords: Mini Cheeseburger Sliders, mini cheeseburger recipes, small cheeseburger sliders, easy slider recipes, bite-sized cheeseburgers, how to make mini cheeseburger sliders, what are mini cheeseburger sliders, best mini cheeseburger sliders, homemade cheeseburger sliders, party cheeseburger sliders, appetizer cheeseburger sliders, cheeseburger slider recipe easy, simple mini cheeseburger sliders, kid-friendly cheeseburger sliders, cheeseburger slider ideas, mini beef sliders with cheese, savory mini cheeseburger bites, quick cheeseburger slider recipe, slider burger recipes mini, miniature cheeseburger slider instructions, best sliders for parties
