Halloween ice cream has been my absolute favorite treat since I was a kid – the vibrant colors and fun flavors always signaled the start of spooky season! I remember one year my mom made a batch that was dyed a deep purple with candy corn mix-ins, and it felt like magic in a bowl. This particular recipe, a no-churn cookies-and-cream base dyed a perfect Halloween orange and loaded with crushed Oreos and gummy worms, is incredibly easy to whip up. It’s the perfect way to bring a little bit of whimsical fright to your table. Let’s get cooking!
Why You’ll Love This Halloween Ice Cream
- The Taste: It’s a delightful cookies-and-cream base with a hint of vanilla, making it incredibly delicious and a perfect treat for any spooky ice cream lover.
- Super Easy Prep: With no churning required, you can have this ready for the freezer in just 15 minutes – perfect for busy Halloween prep!
- Kid-Friendly Fun: The vibrant orange color and gummy worm surprises make this a huge hit with children, adding to the festive atmosphere.
- Budget-Friendly: Uses common pantry staples and affordable ingredients, making it a cost-effective way to create a show-stopping Halloween dessert.
- Customizable: Easily adapt the colors, add-ins like candy eyes, or sprinkles to create your own unique spooky ice cream masterpiece.
- Impressive Presentation: The bright orange hue and embedded Oreos look fantastic, making it a memorable centerpiece for your Halloween spread.
- No Special Equipment: All you need is a bowl, a whisk, and a freezer – no ice cream maker needed for this creamy delight!
Ingredients for Halloween Ice Cream
Gathering the ingredients for this delightful Halloween Ice Cream is a breeze, and they all come together to create a truly magical, no-churn base. You won’t believe how simple it is to whip up this creamy, dreamy dessert!
- 2 cups heavy whipping cream, chilled – This is the key to getting that light and fluffy texture without an ice cream maker.
- 1 can (14 oz) sweetened condensed milk – Provides sweetness and a smooth consistency, forming the foundation of our no-churn base.
- 1 tsp vanilla extract – Enhances all the flavors and adds that classic, comforting ice cream taste.
- Orange gel food coloring – Use gel for the most vibrant, spooktacular orange hue that screams Halloween!
- 1 ½ cups crushed Oreo cookies – These add a fantastic cookies-and-cream flavor and delightful texture, like little bits of midnight in your ice cream.
- Gummy worms (for garnish) – These creepy crawlies are the perfect finishing touch, making it a truly festive treat.

How to Make Halloween Ice Cream
- Step 1: Grab a large, chilled bowl and your electric mixer. Whip the 2 cups heavy whipping cream until stiff peaks form. This means when you lift the beaters, the cream stands straight up – that’s the secret to a fluffy, no-churn base!
- Step 2: In a separate bowl, whisk together the 1 can (14 oz) sweetened condensed milk, 1 tsp vanilla extract, and a few drops of orange gel food coloring. Keep adding the coloring until you achieve that perfect, vibrant Halloween orange. This is where your DIY Halloween ice cream starts to look truly festive.
- Step 3: Gently fold about a third of the whipped cream into the orange condensed milk mixture. Once that’s combined, carefully fold the remaining whipped cream into the orange base. Be gentle to keep the mixture airy and light – we don’t want to deflate all that lovely fluffiness!
- Step 4: Now for the fun part! Stir in the 1 ½ cups crushed Oreo cookies. I like to leave some bigger chunks for a delightful crunch and visual appeal. This makes your DIY Halloween ice cream extra special and packed with flavor.
- Step 5: Pour the glorious orange and black mixture into a loaf pan. Spread it out evenly. Cover the pan tightly with plastic wrap or a lid. Place it in the freezer for at least 6 hours, or preferably overnight, until it’s firm and scoopable.
- Step 6: Once frozen solid, scoop your amazing Halloween Ice Cream into bowls or cones. Garnish generously with gummy worms for that final spooky touch. It’s the perfect, easy DIY Halloween ice cream that everyone will rave about!
Pro Tips for the Best Halloween Ice Cream
I’ve made this Halloween Ice Cream more times than I can count, and these little tricks really elevate it from good to absolutely spooktacular! They ensure a perfect texture and vibrant look every time.
- Chill Everything: Make sure your heavy cream, bowl, and beaters are ice-cold. This helps the cream whip up faster and achieve those stiff peaks for a lighter texture.
- Gel vs. Liquid Food Coloring: Always opt for gel food coloring. It’s much more concentrated, meaning you’ll need less to achieve a vibrant orange, and it won’t water down your ice cream base.
- Don’t Overmix: When folding the whipped cream into the condensed milk mixture, be gentle! You want to keep as much air in the mixture as possible for that fluffy, creamy consistency.
- Layer Your Add-ins: For the best distribution of Oreos, try stirring in about half first, then adding the rest as you pour the mixture into the pan and swirling them gently.
What’s the secret to perfect Halloween ice cream?
The magic is in the no-churn method! Whipping heavy cream to stiff peaks and then folding it into sweetened condensed milk creates an incredibly airy and creamy base without any churning. It’s one of my favorite creative Halloween ice cream ideas for its simplicity and delicious results. For more creative dessert ideas, check out these last recipes.
Can I make Halloween ice cream ahead of time?
Absolutely! This DIY Halloween ice cream is perfect for making ahead. You can prepare it up to 24 hours in advance and keep it tightly covered in the freezer until you’re ready to serve. It’s a great time-saver for party prep!
How do I avoid common mistakes with Halloween ice cream?
A common pitfall is using liquid food coloring, which can make the ice cream watery. Stick to gel! Also, be careful not to overmix when combining the whipped cream and milk base, or you’ll lose that light, fluffy texture essential for a great no-churn dessert. For more tips on making delicious desserts, you might find these copycat recipes helpful.
Best Ways to Serve Halloween Ice Cream
This vibrant orange Halloween Ice Cream is a showstopper on its own, but serving it in a few creative ways can make your dessert table even more festive! For a classic treat, scoop it into chilled bowls or waffle cones. It also makes for a fantastic Halloween dessert ice cream paired with warm, spiced apple cider or a slice of pumpkin bread. For an extra spooky presentation, try serving it in hollowed-out mini pumpkins or black dessert cups, perhaps with a drizzle of chocolate syrup or a sprinkle of edible glitter. It’s the perfect way to cap off any Halloween feast!

Nutrition Facts for Halloween Ice Cream
This fun and festive Halloween Ice Cream is a delightful treat, and here’s a look at its estimated nutritional breakdown per serving. It’s always good to know what you’re enjoying!
- Calories: 310
- Fat: 18g
- Saturated Fat: 11g
- Protein: 4g
- Carbohydrates: 32g
- Fiber: 1g
- Sugar: 26g
- Sodium: 120mg
Nutritional values are estimates and may vary based on specific ingredients used. For more information on healthy eating, consider these foods to eat less of.
How to Store and Reheat Halloween Ice Cream
Keeping your delicious Halloween Ice Cream fresh is super simple, even if you’ve made a big batch for a party! Once it’s frozen solid, transfer it to an airtight container. I find that a loaf pan covered tightly with plastic wrap and then foil works perfectly for the freezer, preventing any ice crystals. This method ensures it stays creamy for up to 3 months. If you’re planning for Halloween ice cream party ideas, consider individual containers or small freezer bags for easy serving. Since this is a frozen dessert, reheating isn’t typical; it’s best served straight from the freezer. If it softens a bit too much, just pop it back in for 30 minutes to firm up before scooping.
Frequently Asked Questions About Halloween Ice Cream
What is Halloween ice cream?
Halloween ice cream refers to frozen desserts specifically designed for the holiday, featuring festive colors like orange, black, or purple, and often incorporating fun mix-ins like candy eyes, gummy worms, or spooky-themed shapes. It’s all about creating a playful and delicious treat that captures the spirit of Halloween!
Is this a difficult recipe to make?
Not at all! This is an incredibly easy Halloween ice cream recipe because it’s no-churn. You don’t need any special equipment like an ice cream maker. Just a few simple steps of mixing and freezing, and you’ll have a fantastic frozen dessert. If you’re looking for other easy recipes, check out these easy meat recipes.
Can I make this Halloween ice cream dairy-free?
While this specific recipe uses dairy, you can adapt it! For a dairy-free version, try using full-fat coconut milk or a dairy-free whipping cream alternative. You might need to adjust the sweetness slightly, but it’s a great way to make this spooky dessert accessible for everyone.
What are some other spooky dessert for Halloween ideas?
Beyond this amazing ice cream, consider ghost-shaped meringues, “witch finger” pretzels dipped in green candy melts, or chocolate-covered strawberries dyed black with orange sprinkles. The key is creativity and embracing the fun, festive colors and themes of the season! For more baking inspiration, explore these banana bread cookies.
Variations of Halloween Ice Cream You Can Try
Once you’ve mastered this basic Halloween Ice Cream, don’t be afraid to get creative! There are so many ways to put your own spooky spin on this recipe. For a lighter, dairy-free option, swap the heavy cream for full-fat coconut cream and use a dairy-free condensed milk alternative – a great way to make a truly inclusive spooky dessert for Halloween. You could also try a vibrant green base with candy eyeballs for a fun monster Halloween ice cream. Another popular idea is a pumpkin spice Halloween ice cream, achieved by adding a teaspoon of pumpkin pie spice and a tablespoon of pumpkin puree to the condensed milk mixture. These variations ensure there’s a perfect, creepy treat for everyone!
Print
Spooky Halloween Ice Cream: 1 Bite Magic
- Total Time: 6 hours 15 minutes
- Yield: 8 servings 1x
- Diet: Vegetarian
Description
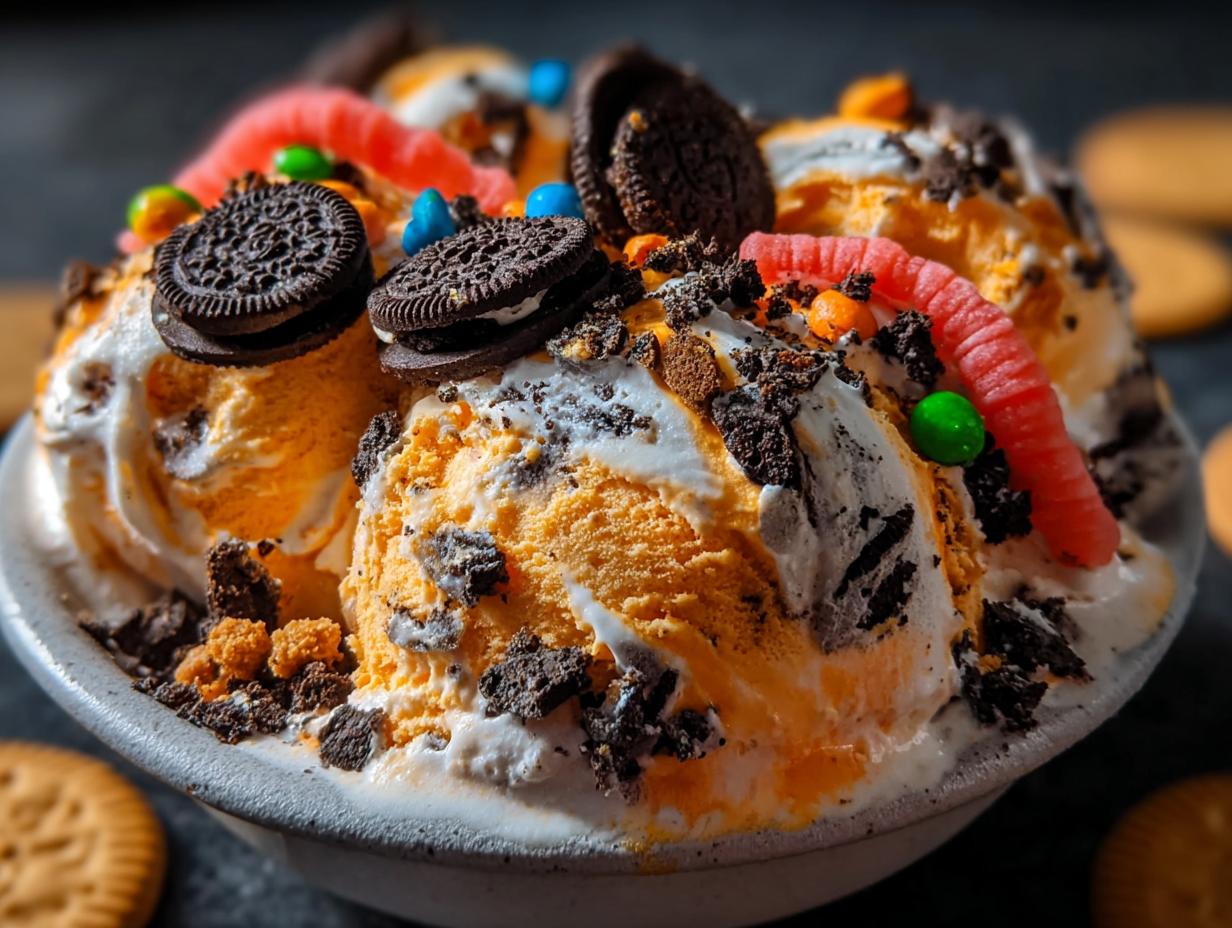
This Halloween Ice Cream is a no-churn cookies-and-cream base dyed orange, loaded with crushed Oreos, and topped with gummy worms for a spooky twist. Perfect for Halloween parties, this festive frozen dessert is fun, easy, and kid-approved.
Ingredients
- 2 cups heavy whipping cream, chilled
- 1 can (14 oz) sweetened condensed milk
- 1 tsp vanilla extract
- Orange gel food coloring
- 1 ½ cups crushed Oreo cookies
- Gummy worms (for garnish)
Instructions
- In a large bowl, whip the heavy cream until stiff peaks form.
- In another bowl, whisk condensed milk, vanilla, and orange gel food coloring until smooth.
- Fold the whipped cream into the orange base gently until fluffy.
- Stir in crushed Oreos, leaving some chunks for texture.
- Pour mixture into a loaf pan, cover, and freeze at least 6 hours or overnight.
- Scoop into bowls or cones and garnish with gummy worms before serving.
Notes
- For a more festive touch, add candy eyes or Halloween sprinkles.
- Use gel coloring for the brightest orange shade.
- Freeze in a shallow dish for quicker set time.
- Prep Time: 15 minutes
- Cook Time: 0 minutes
- Category: Dessert
- Method: No-Churn
- Cuisine: American
Nutrition
- Serving Size: 1 cup
- Calories: 310
- Sugar: 26g
- Sodium: 120mg
- Fat: 18g
- Saturated Fat: 11g
- Unsaturated Fat: 6g
- Trans Fat: 0g
- Carbohydrates: 32g
- Fiber: 1g
- Protein: 4g
- Cholesterol: 65mg
Keywords: Halloween Ice Cream, spooky ice cream, cookies and cream ice cream, gummy worm ice cream, no churn ice cream