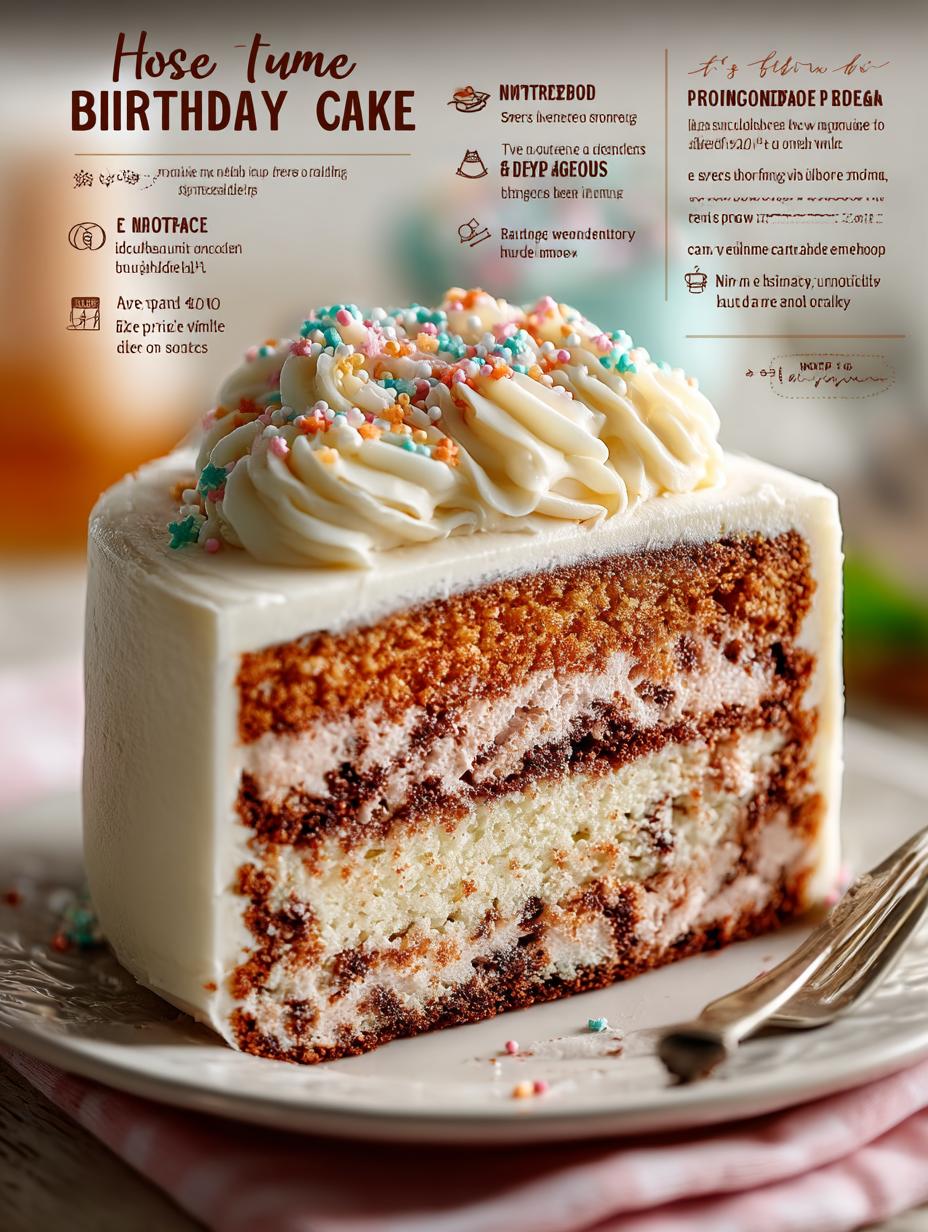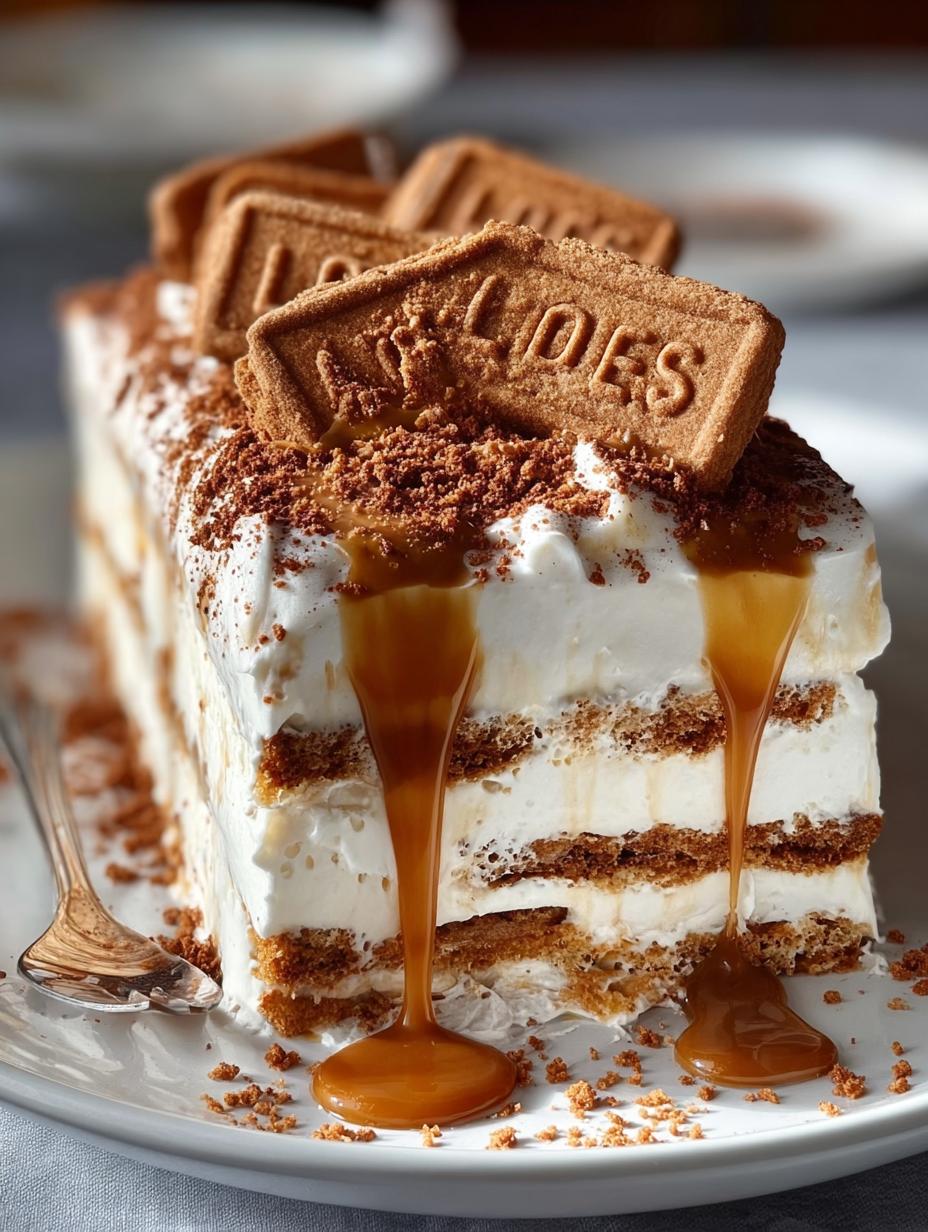
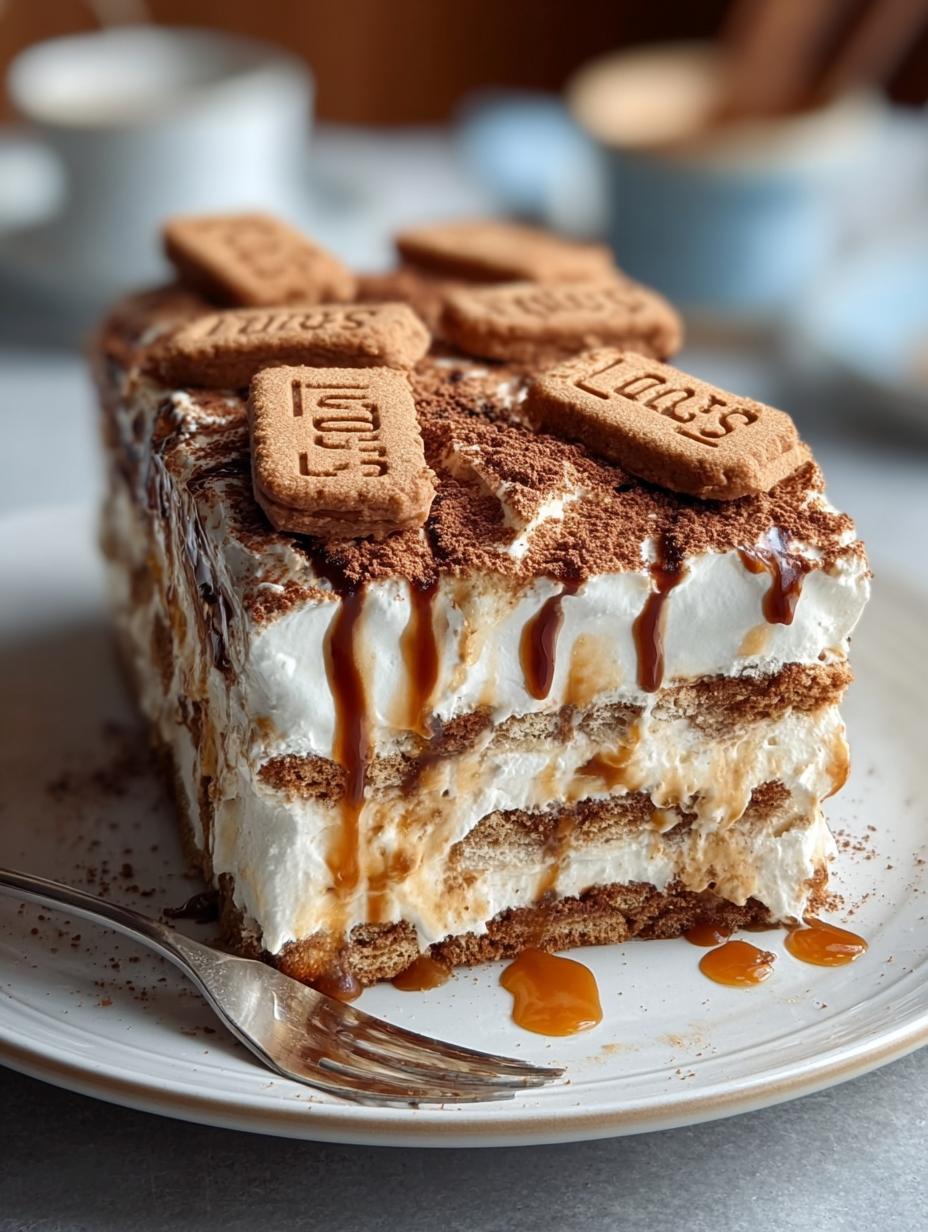
Biscoff Icebox Cake is a delightful no-bake dessert that brings together layers of crunchy Biscoff biscuits and a creamy, spiced Biscoff spread filling. This easy-to-make cake has captured hearts with its indulgent flavors and simple preparation. Perfect for gatherings or a cozy night in, the Biscoff Icebox Cake is sure to impress anyone who tries it. With minimal ingredients and no baking required, it’s a go-to dessert for any occasion.
Why You’ll Love This Biscoff Icebox Cake
This Biscoff Icebox Cake is not just a treat; it’s a celebration of flavors and simplicity. Here are a few reasons why you’ll adore it:
- It’s a Biscoff No-Bake Cake, making it perfect for hot days.
- The combination of crunchy and creamy textures is irresistible.
- It can be made ahead of time, perfect for parties.
- Uses simple, everyday ingredients that you likely already have.
- It serves as a fantastic base for Biscoff dessert ideas and variations.
- This cake is vegetarian-friendly, appealing to a broader audience.
Ingredients for Biscoff Icebox Cake
Gather these items:
- 1 cup heavy cream, cold
- 1/4 cup sweetened condensed milk
- 1/2 cup Lotus Biscoff spread
- 1/4 cup Lotus spread for drizzling
- 20 Lotus Biscoff biscuits
How to Make Biscoff Icebox Cake Step-by-Step
- Step 1: Whip the cold heavy cream and sweetened condensed milk in a large mixing bowl until soft peaks form.
- Step 2: Add the Lotus Biscoff spread to the whipped cream and mix until just combined.
- Step 3: Line a 9×5 loaf pan with plastic wrap, leaving some overhang for easy removal.
- Step 4: Spread a thin layer of Biscoff cream on the bottom of the pan.
- Step 5: Place a layer of Biscoff biscuits on top of the cream.
- Step 6: Top the biscuits with 1/3 of the Biscoff cream mixture and drizzle with some extra Lotus spread.
- Step 7: Repeat the layers: biscuits, cream, and drizzling of Lotus spread until you’ve used up all the ingredients.
- Step 8: Top with a final layer of biscuits and drizzle with more Lotus spread.
- Step 9: Cover the pan with plastic wrap and freeze for at least 2 hours, or preferably overnight, until firm.
- Step 10: Slice the cake while frozen, but let slices sit for 15 minutes before serving for the best texture.

Pro Tips for the Perfect Biscoff Icebox Cake
Keep these in mind:
- This cake can be made ahead of time and stored in the freezer.
- Allow the cake to sit at room temperature for better slicing.
- For a twist, try adding a layer of chocolate or fruit in between the layers.
- Ensure the heavy cream is cold for optimal whipping.
Best Ways to Serve Biscoff Icebox Cake
Serving this cake is as delightful as making it. Here are a few ideas:
- Top with whipped cream for an added layer of indulgence.
- Serve with fresh berries for a refreshing contrast.
- Pair with a drizzle of melted chocolate for a rich dessert.
How to Store and Reheat Biscoff Icebox Cake
To store your cake, keep it covered in the freezer. The Biscoff Icebox Cake can be made ahead of time and stored for up to a week. Slice and serve directly from the freezer for the best texture.
Frequently Asked Questions About Biscoff Icebox Cake
What’s the secret to perfect Biscoff Icebox Cake?
The secret lies in the layering technique and ensuring the cream is whipped to soft peaks. This gives the cake its delightful texture, making it a standout Biscoff dessert.
Can I make Biscoff Icebox Cake ahead of time?
Absolutely! This no-bake cake can be prepared in advance and stored in the freezer. This makes it a great option for parties or gatherings.
How do I avoid common mistakes with Biscoff Icebox Cake?
To avoid common pitfalls, ensure your cream is well-chilled before whipping, and allow the cake to soften slightly before slicing for neat pieces.
Variations of Biscoff Icebox Cake You Can Try
There are numerous ways to customize your Biscoff Icebox Cake:
- Try a Cookie Butter Icebox Cake variation by substituting cookie butter for the Biscoff spread.
- Add layers of chocolate for a rich twist with a Biscoff Layered Cake.
- Incorporate fresh fruit for a refreshing touch.
- Experiment with different flavored whipped creams for added depth.
For more delicious dessert ideas, check out our latest recipes or try making Cranberry Orange Pancakes for a delightful breakfast. If you’re looking for more no-bake options, consider our No-Bake Banana Split Cake.
For additional information on the benefits of no-bake desserts, you can visit Healthline.
Print
Biscoff Icebox Cake: 5 Layers of Heavenly Delight
- Total Time: 2 hours
- Yield: 8 servings 1x
- Diet: Vegetarian
Description
This Biscoff Icebox Cake is a no-bake dessert made with layers of crunchy Biscoff biscuits and a creamy, spiced Biscoff spread filling.
Ingredients
- 1 cup heavy cream, cold
- 1/4 cup sweetened condensed milk
- 1/2 cup Lotus Biscoff spread
- 1/4 cup Lotus spread for drizzling
- 20 Lotus Biscoff biscuits
Instructions
- Whip the cold heavy cream and sweetened condensed milk in a large mixing bowl until soft peaks form.
- Add the Lotus Biscoff spread to the whipped cream and mix until just combined.
- Line a 9×5 loaf pan with plastic wrap, leaving some overhang for easy removal.
- Spread a thin layer of Biscoff cream on the bottom of the pan.
- Place a layer of Biscoff biscuits on top of the cream.
- Top the biscuits with 1/3 of the Biscoff cream mixture, and drizzle with some extra Lotus spread.
- Repeat the layers: biscuits, cream, drizzling of Lotus spread until you’ve used up all the ingredients.
- Top with a final layer of biscuits and drizzle with more Lotus spread.
- Cover the pan with plastic wrap and freeze for at least 2 hours, or preferably overnight, until firm.
- Slice the cake while frozen but let slices sit for 15 minutes before serving for the best texture.
Notes
- This cake can be made ahead of time and stored in the freezer.
- Allow the cake to sit at room temperature for better slicing.
- Prep Time: 30 minutes
- Cook Time: 0 minutes
- Category: Dessert
- Method: No-Bake
- Cuisine: International
Nutrition
- Serving Size: 1 slice
- Calories: 415
- Sugar: 22g
- Sodium: 90mg
- Fat: 24g
- Saturated Fat: 14g
- Unsaturated Fat: 10g
- Trans Fat: 0g
- Carbohydrates: 45g
- Fiber: 1g
- Protein: 5g
- Cholesterol: 80mg
Keywords: Biscoff Icebox Cake, no-bake dessert, easy dessert, Biscoff recipe